EKS Setup
Prerequisites:
Configuring the AWS CLI and kubectl
Note: Use the AWS's root account for this project.
AWS CLI – A command line tool for working with AWS services, including Amazon EKS.
Configure the AWS CLI and kubectl on your local machine to interact with AWS services and EKS clusters:
Installing the AWS CLI:
Download and install the AWS CLI on your local machine. You can find installation instructions for various operating systems.
  curl "https://awscli.amazonaws.com/awscli-exe-linux-x86_64.zip" -o "awscliv2.zip"
  unzip awscliv2.zip
  sudo ./aws/install
Check aws version
/usr/local/bin/aws --version

Configuring AWS CLI Credentials:
- Get access key ID and secret access key. >> Click on account name > Security credentials >> create access key.


Open a terminal or command prompt and run the following command:
aws configureEnter the access key ID and secret access key of the IAM user you created earlier.
Choose a default region and output format for AWS CLI commands.
Installing kubectl: A command line tool for working with Kubernetes clusters.
Install kubectl on your local machine. Instructions can be found here.
        curl -LO "https://dl.k8s.io/release/$(curl -L -s https://dl.k8s.io/release/stable.txt)/bin/linux/amd64/kubectl"
        echo "$(cat kubectl.sha256)  kubectl" | sha256sum --check
        sudo install -o root -g root -m 0755 kubectl /usr/local/bin/kubectl
        kubectl version --client

- Installing eksctl – A command line tool for working with EKS clusters that automates many individual tasks. For more information, see Installing or updating.
    # for ARM systems, set ARCH to: `arm64`, `armv6` or `armv7`
    ARCH=amd64
    PLATFORM=$(uname -s)_$ARCH

    curl -sLO "https://github.com/eksctl-io/eksctl/releases/latest/download/eksctl_$PLATFORM.tar.gz"

    # (Optional) Verify checksum
    curl -sL "https://github.com/eksctl-io/eksctl/releases/latest/download/eksctl_checksums.txt" | grep $PLATFORM | sha256sum --check

    tar -xzf eksctl_$PLATFORM.tar.gz -C /tmp && rm eksctl_$PLATFORM.tar.gz

    sudo mv /tmp/eksctl /usr/local/bin
    eksctl version
Install EKS
Please follow the prerequisites before this.
Install using Fargate
eksctl create cluster --name demo-cluster --region us-east-1 --fargate
Check on aws console >> search for "eks" > press enter > Clusters > Cluster name.

Status is showing as creating.> wait for 10-15 minutes. > You can check the resources in the "resources" tab.

Configuring kubectl for EKS:
Once kubectl is installed, you need to configure it to work with your EKS cluster.
Use the AWS CLI to update the kubeconfig file:
aws eks update-kubeconfig --name eks-cluster --region us-east-1
- Verify the configuration by running a kubectl command against your EKS cluster:
kubectl get nodes

Delete the cluster>
eksctl delete cluster --name demo-cluster --region us-east-1
REAL TIME MONITORING HANDSON
Prometheus and Grafana Dashboard on EKS Cluster using Helm Chart
Instance Type as t2.medium
AMIs as Ubuntu*
US-EAST-1*

Create a IAM Role for EC2 to access Kubernetes
got to IAM → Roles → create Roles → create role → AWS Service → EC2 → add AdministratorAccess → Role name: kubernetes-accessed-by-ec2

After creating the role attach the role policy to EC2 Instance we created
go to EC2 → Action → security → Modify IAM role → select created role → update IAM role


Install AWS CLI and Configure
curl "https://awscli.amazonaws.com/awscli-exe-linux-x86_64.zip" -o "awscliv2.zip"
sudo apt install unzip
unzip awscliv2.zip
sudo ./aws/install
Install and Setup Kubectl
curl -LO https://storage.googleapis.com/kubernetes-release/release/$(curl -s https://storage.googleapis.com/kubernetes-release/release/stable.txt)/bin/linux/amd64/kubectl
chmod +x ./kubectl
sudo mv ./kubectl /usr/local/bin
kubectl version
Install and Setup eksctl
curl --silent --location "https://github.com/weaveworks/eksctl/releases/latest/download/eksctl_$(uname -s)_amd64.tar.gz" | tar xz -C /tmp
sudo mv /tmp/eksctl /usr/local/bin
eksctl version
Install Helm chart
curl -fsSL -o get_helm.sh https://raw.githubusercontent.com/helm/helm/main/scripts/get-helm-3
chmod 700 get_helm.sh
./get_helm.sh
helm version
Creating an Amazon EKS cluster using eksctl
1.Name of the cluster : — eks2
2. Version of Kubernetes : — version 1.24
3. Region : — region us-east-1
4. Nodegroup name/worker nodes : — nodegroup-name worker-nodes
5. Node Type : — nodegroup-type t2.medium
6. Number of nodes: — nodes 2
7. Minimum Number of nodes: — nodes-min 2
8. Maximum Number of nodes: — nodes-max 3
eksctl create cluster --name eks2 --version 1.24 --region us-east-1 --nodegroup-name worker-nodes --node-type t2.medium --nodes 2 --nodes-min 2 --nodes-max 3

or in bellow command i have added zones
eksctl create cluster --name eks2 --version 1.24 --region us-east-1 --zones=us-east-1b,us-east-1c --nodegroup-name worker-nodes --node-type t2.medium --nodes 2 --nodes-min 2 --nodes-max 3
IF ANY ERROR
aws eks update-kubeconfig --region <region-code> --name <cluster-name>

-- example:
aws eks update-kubeconfig --region us-east-1 --name eks2
Installing the Kubernetes Metrics Server
kubectl apply -f https://github.com/kubernetes-sigs/metrics-server/releases/latest/download/components.yaml

Verify that the metrics-server deployment is running the desired number of pods with the following command
kubectl get pods -n kube-system

kubectl get deployment metrics-server -n kube-system

Install Prometheus
helm repo add prometheus-community https://prometheus-community.github.io/helm-charts

Update helm chart repository
helm repo update
helm repo list
Create Prometheus namespace
kubectl create namespace prometheus
kubectl get ns

focus only on kube-system & prometheus
Install Prometheus
helm install prometheus prometheus-community/prometheus --namespace prometheus --set alertmanager.persistentVolume.storageClass="gp2" --set server.persistentVolume.storageClass="gp2"

Create IAM OIDC Provider
Your cluster has an OpenID Connect (OIDC) issuer URL associated with it. To use AWS Identity and Access Management (IAM) roles for service accounts, an IAM OIDC provider must exist for your cluster’s OIDC issuer URL.
oidc_id=$(aws eks describe-cluster --name eks2 --region us-east-1 --query "cluster.identity.oidc.issuer" --output text | cut -d '/' -f 5)
echo $oidc_id
aws iam list-open-id-connect-providers | grep $oidc_id | cut -d "/" -f4
eksctl utils associate-iam-oidc-provider --cluster eks2 --approve --region us-east-1

Create iamserviceaccount with role
eksctl create iamserviceaccount --name ebs-csi-controller-sa --namespace kube-system --cluster eks2 --attach-policy-arn arn:aws:iam::aws:policy/service-role/AmazonEBSCSIDriverPolicy --approve --role-only --role-name AmazonEKS_EBS_CSI_DriverRole --region us-east-1


Then attach ROLE to eks by running the following command
In below command paste the arn_id and execute the command
eksctl create addon --name aws-ebs-csi-driver --cluster eks2 --service-account-role-arn <arn_id> --force --region us-east-1

To check the pods of prometheus
kubectl get pods -n prometheus
kubectl get all -n prometheus


View the Prometheus dashboard by forwarding the deployment ports
kubectl port-forward deployment/prometheus-server 9090:9090 -n prometheus
Open different browser and connect to your EC2 instance
curl localhost:9090/graph

Install Grafana
helm repo add grafana https://grafana.github.io/helm-charts

Create a namespace Grafana
kubectl create namespace grafana

Install the Grafana
This command will create the Grafana service with an external load balancer to get the public view
helm install grafana grafana/grafana --namespace grafana --set persistence.storageClassName="gp2" --set persistence.enabled=true --set adminPassword='EKS!sAWSome' --set service.type=LoadBalancer

Verify the Grafana installation by using the following kubectl command
kubectl get pods -n grafana
kubectl get service -n grafana

Copy the EXTERNAL-IP and paste in browser


Add the Prometheus as the datasource to Grafana
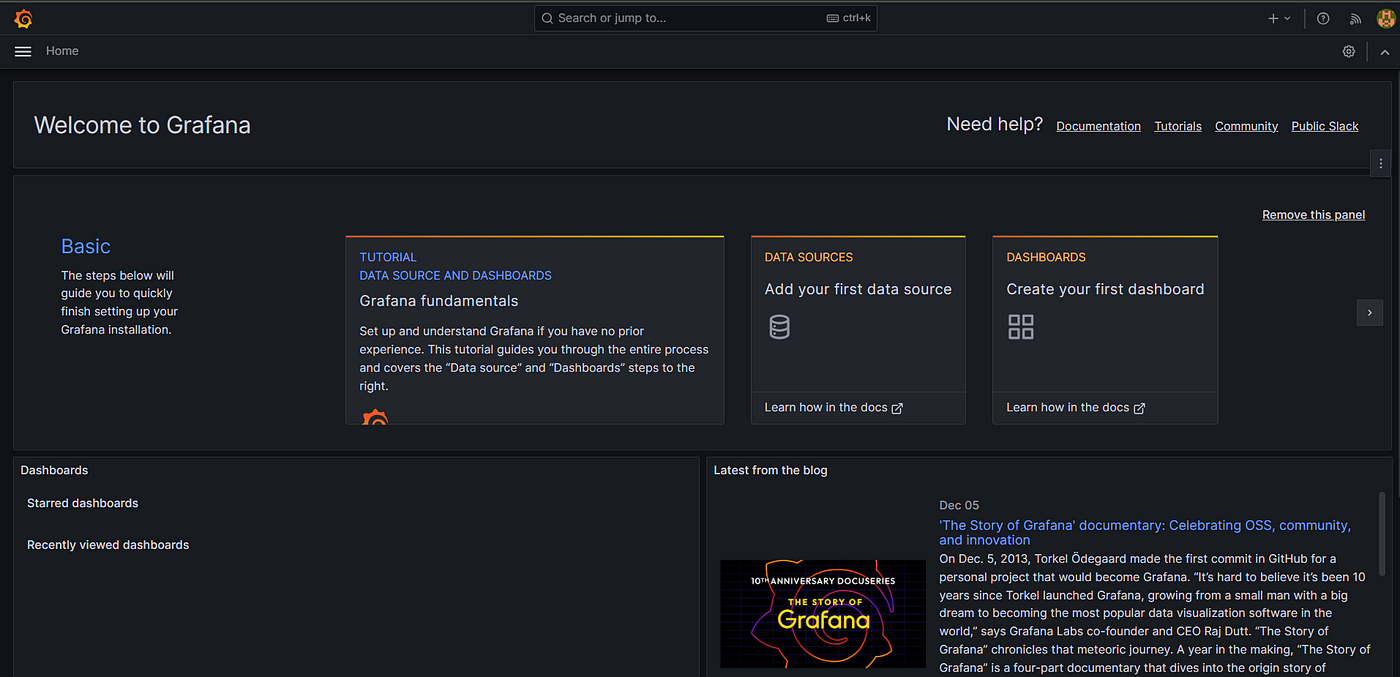
Go to Grafana Dashboard → Add the Datasource → Select the Prometheus

add the below url in Connection and save and test
http://prometheus-server.prometheus.svc.cluster.local/


Import Grafana dashboard from Grafana Labs
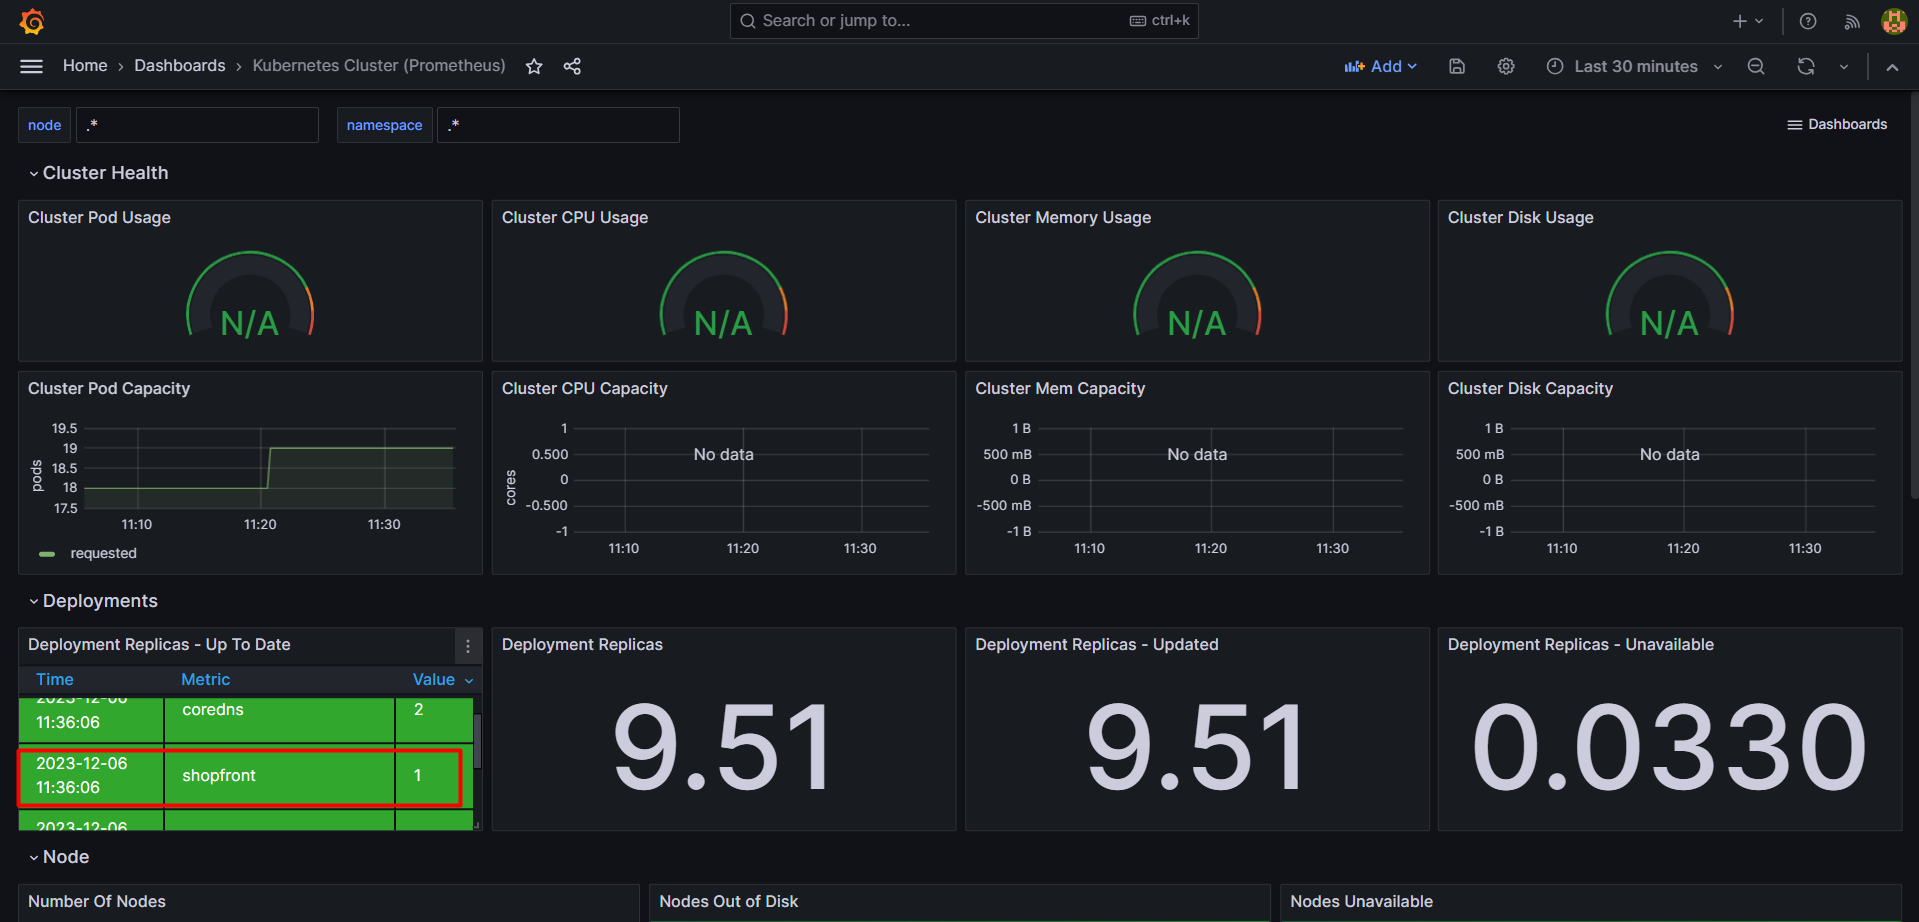
Now we have set up everything in terms of Prometheus and Grafana. For the custom Grafana Dashboard, we are going to use the open source grafana dashboard. For this session, I am going to import a dashboard 6417
grafana dashboard → new → Import → 6417 → load → select prometheus → import


Grafana Dashboard

Deploy a Java application and monitor it on Grafana
git clone https://github.com/praveen1994dec/kubernetes_java_deployment.git
after clong the project kenter in to the project Dir and then open kubernetes dir and run bellow commands
kubectl apply -f shopfront-service.yaml
kubectl get deployment
kubectl get pods
to run below command
make sure the shopfront_id is matching or not and change regarding
kubectl logs shopfront-7868468c56-4r2kk -c shopfront


Delete the project by running the below command
eksctl delete cluster --name eks2 --region us-east-1
